Get started
You do the work once: reset the phone, scan the QR code and add six people. About 20–30 minutes, some of it just waiting while the phone wipes.
About 20–30 minutes in total, some of it waiting
- 1Pick a phone2 min
- 2Reset10 min
- 3Scan QR2 min
- 4Wifi2 min
- 5Install7 min
- 6Restart1 min
- 7Contacts6 min
- 1Pick a phone2 min
- 2Reset10 min
- 3Scan QR2 min
- 4Wifi2 min
- 5Install7 min
- 6Restart1 min
- 7Contacts6 min
- 1
Pick a phone
2 minYouAn Android phone running version 10 or later. New, used, or the one in the drawer since the last upgrade.
Supported phonesShow exactly what happens on screen
Android 10+
New, used, or the one in the drawer
- 2
Factory reset the phone
10 minOnceSettings → General management → Reset → Factory data reset → Delete all. The phone has to start as new for locked mode to be set up.
Tip: if you are reusing a phone that has been in use, everything on it is erased — photos, contacts, messages and apps. Copy anything you want to keep first, for example to Google Photos, a computer or a memory card. A brand new phone needs nothing.
Show exactly what happens on screen
SettingsNetworkGeneral managementDisplayFactory data reset - 3
Scan the QR code
2 minOnceAt the welcome screen, tap the same spot six times. The phone starts looking for a QR code — hold it up to the code we emailed you.
Do not tap the Start button. If you begin the normal setup, the QR mode is out of reach and you have to factory reset all over again. The only thing to do on the welcome screen is tap six times on an empty area.
Show exactly what happens on screen
Only tick this off if you left Start alone — and the phone actually read the QR code.
Welcome!
Tap 6 times here
StartDo not tap here
Looking for a QR code
Point it at the code in the email
- 4
Connect to wifi
2 minYouRight after the QR code the phone asks for a network. It has to be online to download CallByFace.
Wifi is only needed during setup. Afterwards the mobile network is enough — the phone needs no network in the home where it will be used.
Show exactly what happens on screen
Connect to wifiHome-5GGuest networkPhone hotspotOnly needed during setup
- 5
Let the phone configure itself
7 minThe phoneThe phone now handles most of it by itself: it prepares, registers and installs everything it needs. You will tap Accept or Continue a few times along the way — those are Android's own prompts. In between, just let the phone work.
CallByFace is the product name. The app that installs is called Phone Kiosk — that is the name you will see in the phone's dialogs and lists. It is the same thing, nothing has gone wrong.
Show exactly what happens on screen
This device belongs to your organisation
Your organisation can manage apps and settings.
Accept & continueA couple of prompts like this
Preparing your device
- Phone Kiosk
- Contacts
- Dialler
Phone Kiosk = CallByFace
- 6
Restart the phone
1 minYouRestart the phone once before going further. The contacts app installs last and only registers itself with the system after a restart — until then nothing happens when you tap Open Contacts App in the admin menu.
Wondering whether something went wrong? It did not. The restart is needed this one time only, never again.
Show exactly what happens on screen
Only tick this off once the phone has actually restarted — otherwise the contacts app won't open in the next step.
Restart
The contacts app only registers after a restart
Once, after the install
- 7
Contacts and the first call
6 minYouInsert the SIM card if you have not already, tap ten times in a row on the menu bar at the very top to open the admin menu, and add up to six people with photo, name and number. Choose the number the emergency button dials, then make a test call.
The first time you call, Android asks which app to use. Choose Phone Kiosk as the default phone app, and when the Complete action using box appears, pick the option that actually places the call and tap Always — not Just once.
Admin menuShow exactly what happens on screen
The admin menu
New contactChoose photoCamera or galleryName
Anna
Phone number
070 123 45 67
SavePhoto, name and number
24%08:13EMERGENCYAnna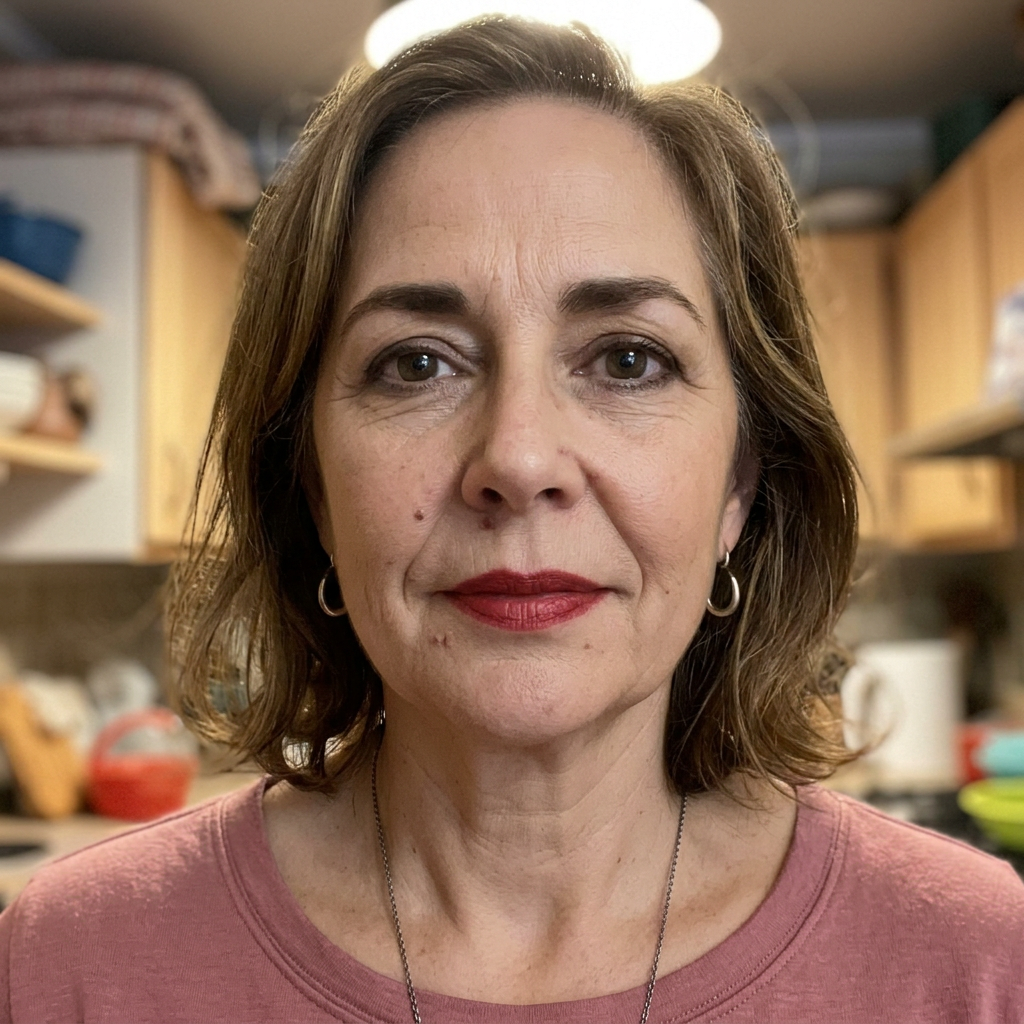 Erik
Erik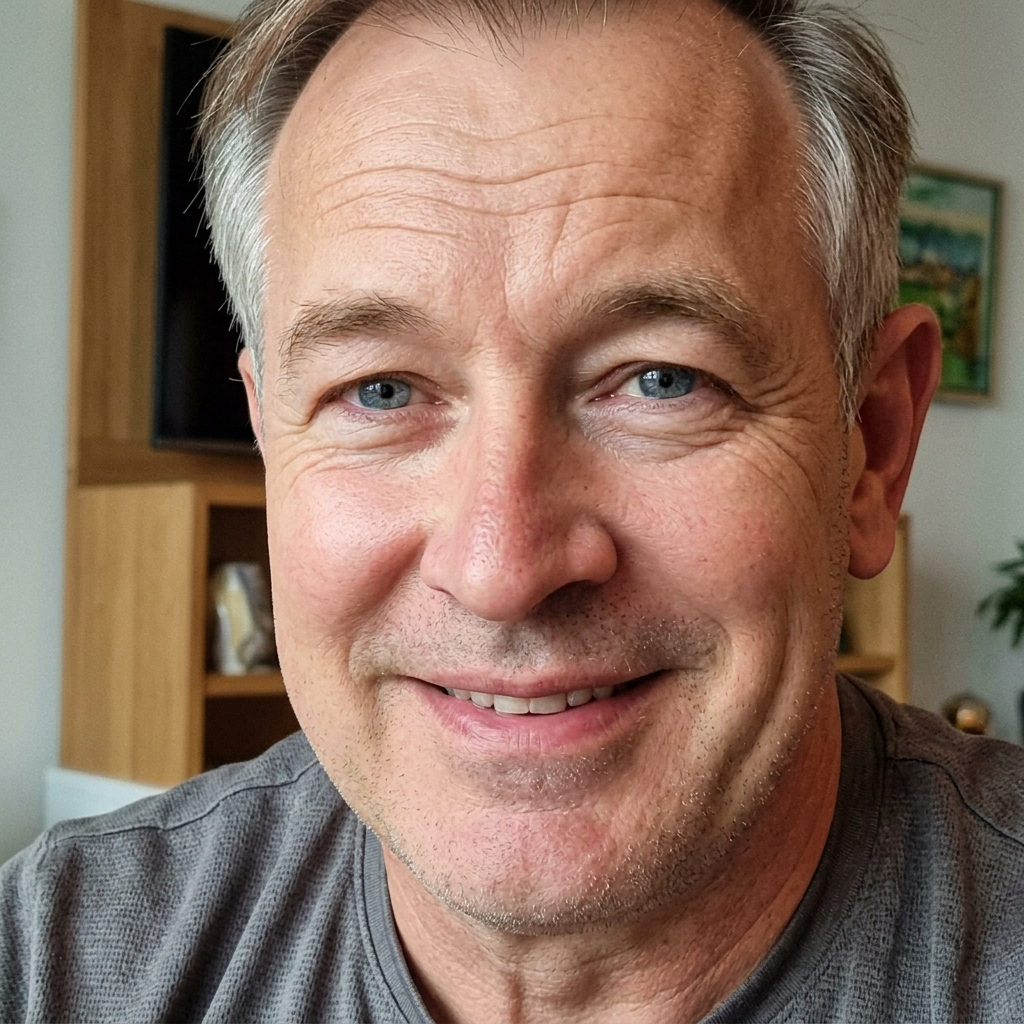 Sara
Sara Johan
Johan Lena
Lena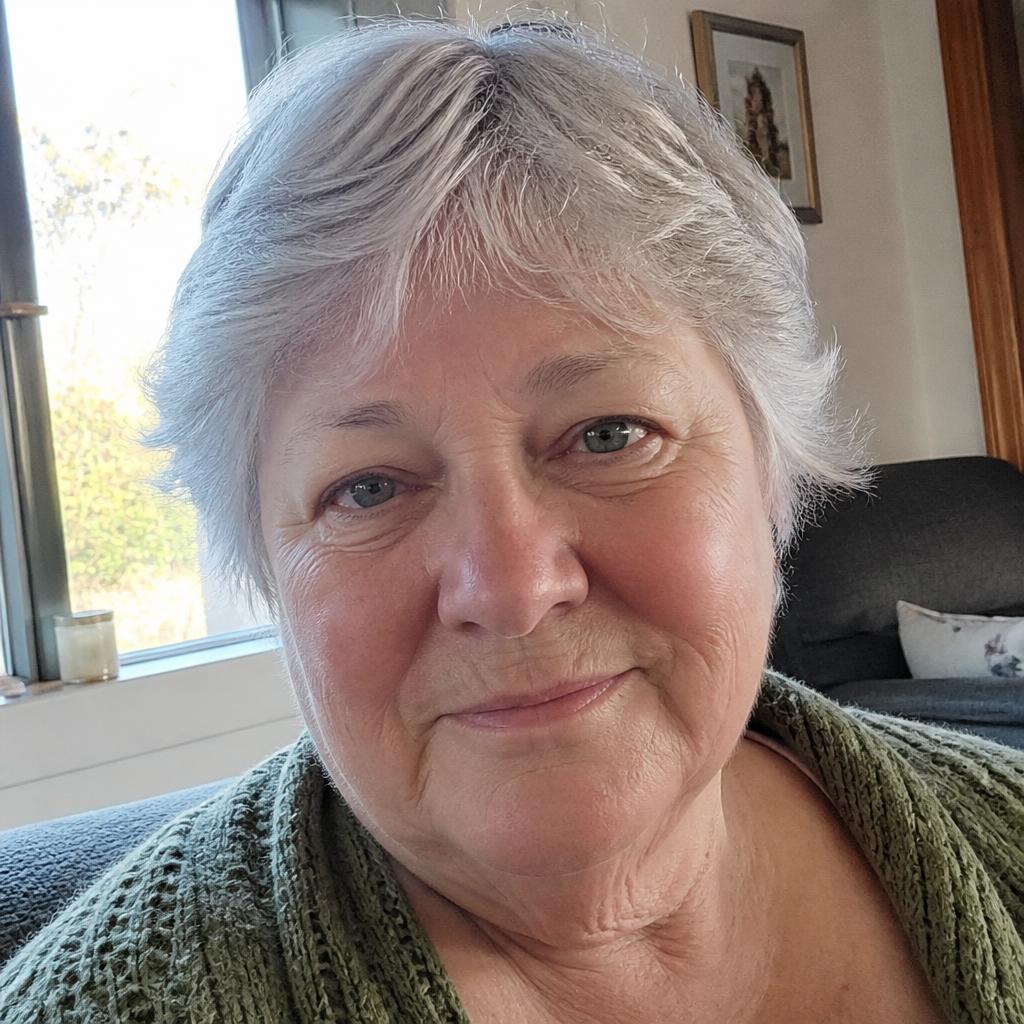 Home care
 Charging · screen always on
Finished call screen
Done — the phone is ready to hand over
No login, no updates to keep track of. If something needs changing, you open admin mode.
Need a hand?
Stuck during setup? Ask in our open forum — we answer there, and the answer stays up for the next person in the same situation.
Contact usRead next
The pages people usually go to after this one.